To create this project, first I had to download a song from YouTube and import it into Premiere Pro. I placed this song into A1 and then used M to place markers for the beat. I had over a hundred markers for the video. Selecting all the files I used "Automate to Sequence..." to make the files change throughout the video to the beat. Once it automated, the images and videos changed according to the beat in the V1 section. I later added Cross Dissolve and Zoom effects to create transitions in the video. After, I created an intro with 10 images and a Title Graphic. I used attributes such as Scale, Position and Rotation to make the intro interesting. Finally, I added an ending, with some text that faded out and an image that faded to black.

Tuesday, October 30, 2018
Project 3 - Cut to the Beat
To create this project, first I had to download a song from YouTube and import it into Premiere Pro. I placed this song into A1 and then used M to place markers for the beat. I had over a hundred markers for the video. Selecting all the files I used "Automate to Sequence..." to make the files change throughout the video to the beat. Once it automated, the images and videos changed according to the beat in the V1 section. I later added Cross Dissolve and Zoom effects to create transitions in the video. After, I created an intro with 10 images and a Title Graphic. I used attributes such as Scale, Position and Rotation to make the intro interesting. Finally, I added an ending, with some text that faded out and an image that faded to black.
Monday, October 29, 2018
Friday Post Oct 26, 2018
Tuesday, October 23, 2018
Project 2 - Adobe Premiere Pro
Creating this video was similar to creating the first video. First, I made the intro. For the Intro, I changed my photos duration to 10ms. I placed these files into the V1 section and created a zoom effect for all of them. After, I added a title from the Graphics tab on top of the pictures. This title also had a zoom effect. For the main part of the video, I placed the same photos in the V1 section again, but this time I changed the duration to 1min. I added a closer zoom effect and a Gaussian Blur to these images. They acted as a background for the next part of the slideshow. I again used the same photos and placed them in the V2 section. For these images, I added a slide in and fade in effect, using the position and opacity properties. I finally added titles to each of the images and music tracks. For the 2 music tracks, I placed a crossfade between them.
Tuesday, October 16, 2018
Project 1 - Adobe Premiere Pro
I created this video using Adobe Premiere Pro. To make this video, I started by creating a new project in the program. Browsing the internet, I found the pictures I wanted to use in this project and imported them. For the intro part of the video I adjusted the scale of the images to create a zoom effect. I added a title on top of the images to give the video context. For the second part of the video I added the same pictures again. This time made the same zoom effect but closer and added a blur to the images. This was used as a background for the next set of images. After, I placed the same images on top with a transition effect. The images slide in from the right and increase opacity. I finally added royalty free music to video. The music was too long, so I had to trim it and fade out the end to make it sound better. For this project, I worked with Key Frames and different transform tools such as Scale and Position. I also used Opacity and a Gaussian Blur. I found it easy to copy and paste attributes, if I needed to apply the same transition multiple times. This project was overall fairly simple and easy.
Friday, October 12, 2018
Friday Post Oct 12, 2018


I created the picture above using the pictures of the mirror and muffin.


I started by creating a new project. I inserted the pictures of the mirror and muffin into the project. I added a background picture and used a the Raw Camera Filter to make it darker. Then I traced the muffin using the Pen Tool. I painted the mirror white with the Brush Tool and removed the inside of it with the Selection Tool. I applied an Inner Glow, Outer Glow and Drop Shadow, to create a neon effect for the mirror and muffin. The wires were created with the pen tool and had an Inner Glow and Drop Shadow applied to them. To further enhance the neon lighting, I used the brush tool to outline the mirror and muffin and add lighting. After, I merged all the layers together and applied a Raw Camera Filter to adjust the colors.
Thursday, October 11, 2018
Thunkable - Intermediate
Intermediate
| 1. My Version: Button Changes (Fayez Ahmed) | |||
|---|---|---|---|
|
 |
||

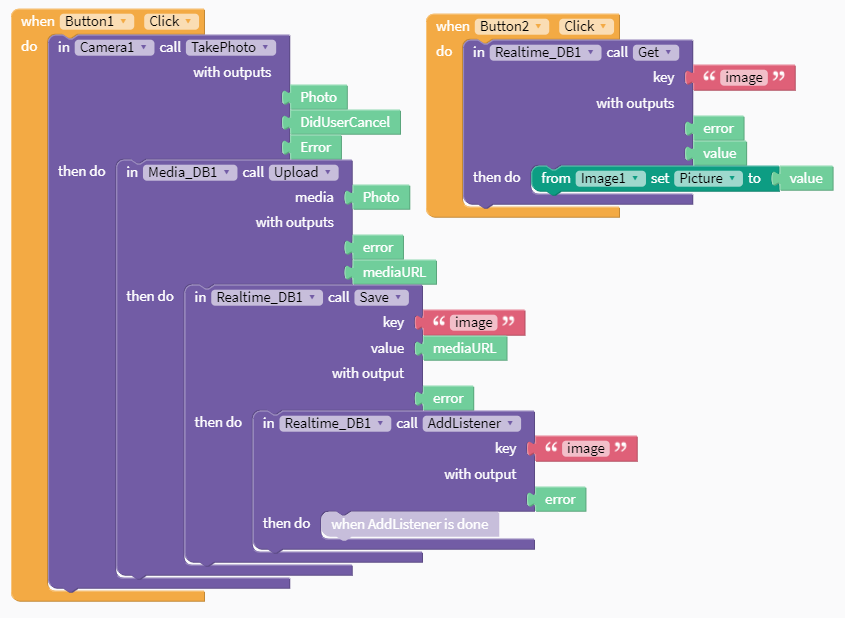
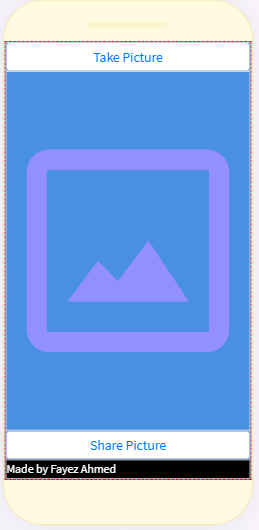
| 2. My Version: Photo Sharing (Fayez Ahmed) | |||
|---|---|---|---|
|
 |
||

| 3. My Version: Screen Navigation (Fayez Ahmed) | |||
|---|---|---|---|
|
 |
||

| 4. My Version: Web to App (Fayez Ahmed) | |||
|---|---|---|---|
|
 |
||

| 5. My Version: Mini Golf (Fayez Ahmed) | |||
|---|---|---|---|
|
 |
||

| 6. My Version: Wack A Thunkable Beaver Game (Fayez Ahmed) | |||
|---|---|---|---|
|
 |
||

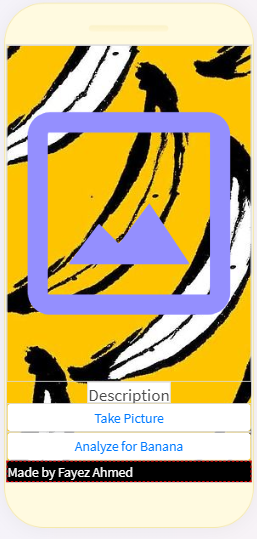
| 7. My Version: Image Recognition (Fayez Ahmed) | |||
|---|---|---|---|
|
 |
||

| 8. My Version: Auto-Text Message (Fayez Ahmed) | |||
|---|---|---|---|
|
 |
||

| 9. My Version: Google Maps Location (Fayez Ahmed) | |||
|---|---|---|---|
|
 |
||

| 10. My Version: Chat App (Fayez Ahmed) | |||
|---|---|---|---|
|
 |
||

Thunkable - Basic
Basic
1. My Version: My Phone Can Talk! (Fayez Ahmed)

2. My Version: Click for Sound (Fayez Ahmed)

3. My Version: Random Answers (Fayez Ahmed)

4. My Version: Image Recognition (Fayez Ahmed)

5. My Version: Translator (Fayez Ahmed)


2. My Version: Click for Sound (Fayez Ahmed)

3. My Version: Random Answers (Fayez Ahmed)

4. My Version: Image Recognition (Fayez Ahmed)

5. My Version: Translator (Fayez Ahmed)

Wednesday, October 3, 2018
Photoshop - 3 Tutorials
Realistic Neon Light Effect in Photoshop
First Attempt


 |
| Before Image |
Second Attempt


 |
| Before Image |
Third Attempt


 |
| Before Image |
Subscribe to:
Comments (Atom)