I created this video using Adobe Premiere Pro. To make this video, I started by creating a new project in the program. Browsing the internet, I found the pictures I wanted to use in this project and imported them. For the intro part of the video I adjusted the scale of the images to create a zoom effect. I added a title on top of the images to give the video context. For the second part of the video I added the same pictures again. This time made the same zoom effect but closer and added a blur to the images. This was used as a background for the next set of images. After, I placed the same images on top with a transition effect. The images slide in from the right and increase opacity. I finally added royalty free music to video. The music was too long, so I had to trim it and fade out the end to make it sound better. For this project, I worked with Key Frames and different transform tools such as Scale and Position. I also used Opacity and a Gaussian Blur. I found it easy to copy and paste attributes, if I needed to apply the same transition multiple times. This project was overall fairly simple and easy.

Tuesday, October 16, 2018
Project 1 - Adobe Premiere Pro
I created this video using Adobe Premiere Pro. To make this video, I started by creating a new project in the program. Browsing the internet, I found the pictures I wanted to use in this project and imported them. For the intro part of the video I adjusted the scale of the images to create a zoom effect. I added a title on top of the images to give the video context. For the second part of the video I added the same pictures again. This time made the same zoom effect but closer and added a blur to the images. This was used as a background for the next set of images. After, I placed the same images on top with a transition effect. The images slide in from the right and increase opacity. I finally added royalty free music to video. The music was too long, so I had to trim it and fade out the end to make it sound better. For this project, I worked with Key Frames and different transform tools such as Scale and Position. I also used Opacity and a Gaussian Blur. I found it easy to copy and paste attributes, if I needed to apply the same transition multiple times. This project was overall fairly simple and easy.

Friday, October 12, 2018
Friday Post Oct 12, 2018


I created the picture above using the pictures of the mirror and muffin.


I started by creating a new project. I inserted the pictures of the mirror and muffin into the project. I added a background picture and used a the Raw Camera Filter to make it darker. Then I traced the muffin using the Pen Tool. I painted the mirror white with the Brush Tool and removed the inside of it with the Selection Tool. I applied an Inner Glow, Outer Glow and Drop Shadow, to create a neon effect for the mirror and muffin. The wires were created with the pen tool and had an Inner Glow and Drop Shadow applied to them. To further enhance the neon lighting, I used the brush tool to outline the mirror and muffin and add lighting. After, I merged all the layers together and applied a Raw Camera Filter to adjust the colors.
Thursday, October 11, 2018
Thunkable - Intermediate
Intermediate
| 1. My Version: Button Changes (Fayez Ahmed) | |||
|---|---|---|---|
|
 |
||

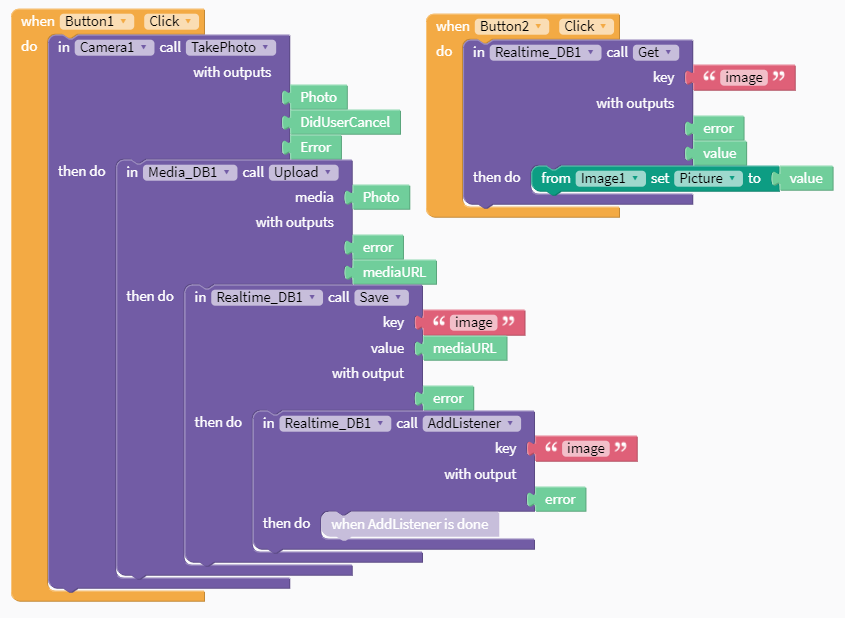
| 2. My Version: Photo Sharing (Fayez Ahmed) | |||
|---|---|---|---|
|
 |
||

| 3. My Version: Screen Navigation (Fayez Ahmed) | |||
|---|---|---|---|
|
 |
||

| 4. My Version: Web to App (Fayez Ahmed) | |||
|---|---|---|---|
|
 |
||

| 5. My Version: Mini Golf (Fayez Ahmed) | |||
|---|---|---|---|
|
 |
||

| 6. My Version: Wack A Thunkable Beaver Game (Fayez Ahmed) | |||
|---|---|---|---|
|
 |
||

| 7. My Version: Image Recognition (Fayez Ahmed) | |||
|---|---|---|---|
|
 |
||

| 8. My Version: Auto-Text Message (Fayez Ahmed) | |||
|---|---|---|---|
|
 |
||

| 9. My Version: Google Maps Location (Fayez Ahmed) | |||
|---|---|---|---|
|
 |
||

| 10. My Version: Chat App (Fayez Ahmed) | |||
|---|---|---|---|
|
 |
||


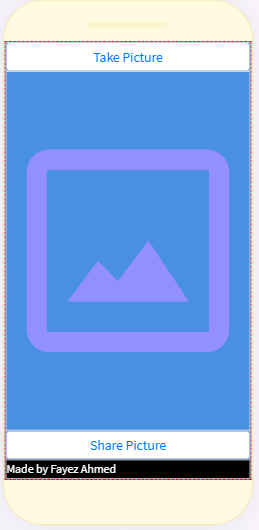




Thunkable - Basic
Basic
1. My Version: My Phone Can Talk! (Fayez Ahmed)

2. My Version: Click for Sound (Fayez Ahmed)

3. My Version: Random Answers (Fayez Ahmed)

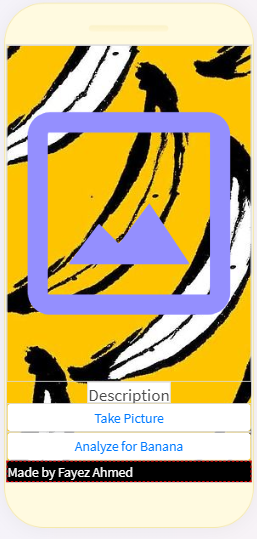
4. My Version: Image Recognition (Fayez Ahmed)

5. My Version: Translator (Fayez Ahmed)


2. My Version: Click for Sound (Fayez Ahmed)

3. My Version: Random Answers (Fayez Ahmed)

4. My Version: Image Recognition (Fayez Ahmed)

5. My Version: Translator (Fayez Ahmed)

Wednesday, October 3, 2018
Photoshop - 3 Tutorials
Realistic Neon Light Effect in Photoshop
First Attempt


 |
| Before Image |
Second Attempt


 |
| Before Image |
Third Attempt


 |
| Before Image |
Friday, September 28, 2018
Friday Post Sept 28, 2018
1. Webviwer App (Fayez Ahmed)

2. Review of Thunkable:
Thunkable is an application used to create apps for IOS and Android devices. Over the last week I spent my time on this application working through tutorials and creating several test applications. I learned about different components and blocks and how they can be used. The basic tutorials were easy to complete as the tutorials were up to date. The intermediate tutorials were much more difficult to complete as the version used in those tutorials was different from the version I was using. Some of the components had different names such as in the "Photo Sharing" tutorial, the database components had different names. For other tutorials such as the "Mini Golf", "Wack A Thunkable", "Auto-Text Message", and "Google Maps Location" apps, components were missing. In these tutorials the components "ball", "canvas", "texting", "accelerometer" were all missing from Thunkable. Overall I believe that using Thunkable was a good experience as it shows how different components and blocks are used to perform the functions of apps. The resources used to learn how to use Thunkable just lacked new and up to date information.
Monday, September 17, 2018
Friday Post Sept 14, 2018
1. 6 shortcuts SPECIFIC to Photoshop and describe what they do.
- B - brush tool, allows you to draw on images
- U - shape tool, creates shapes and allows modifications
- T - text tool, used to write text
- W - magic wand tool, used for selecting
- V - move tool, allows you to move layers and align objects
- C - crop tool, used to crop images
2. Remove everything but the octopus in the following image. Describe how you did it. What are the shortcuts for the tools you used?


I used the selection tool (W) and selected the octopus. I copied (CTRL-C) and pasted (CTRL-V) the selection in a new layer. To make the edges smoother I used the eraser (E) to remove any extra parts. Then I duplicated the layer (CTRL-J) and applied a gaussian blur on the layer behind. I transformed the layer (CTRL-T) and made the blurred layer larger to make the octopus smoother. I cropped the picture (C) to fit the octopus.
3. Find a tutorial on YouTube of some interesting Special Effect (that is not too simple >10 minutes) in Photoshop. Post the tutorial. Get ready to master it at a later date.
Realistic Neon Light Effect in Photoshop | Nemanja Sekulic
Subscribe to:
Posts (Atom)